PicoClaw: Ultra-Efficient AI Assistant in Go
$10 Hardware · 10MB RAM · ms Boot · Let's Go, PicoClaw!

|
|
|


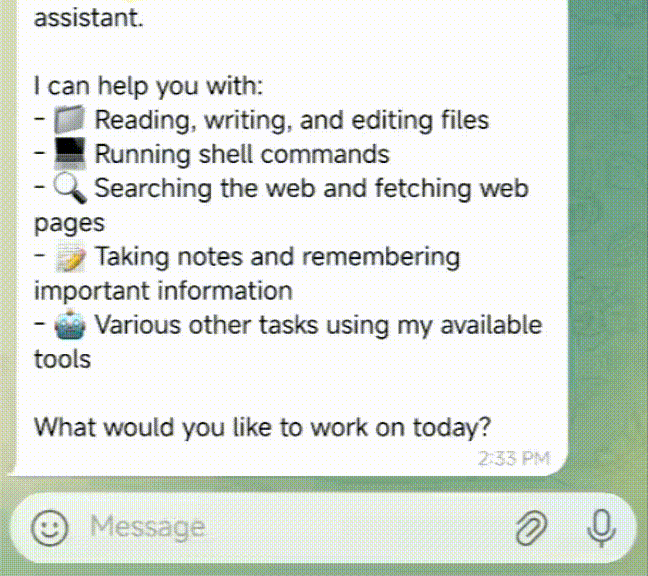
Full-Stack Engineer Mode |
Logging & Planning |
Web Search & Learning |
|---|---|---|
|
|
|
| Develop · Deploy · Scale | Schedule · Automate · Remember | Discover · Insights · Trends |


 |
 |
 |
 |
 For minimal environments where only the `picoclaw` core binary is available (no Launcher UI), you can configure everything via the command line and a JSON config file.
**1. Initialize**
```bash
picoclaw onboard
```
This creates `~/.picoclaw/config.json` and the workspace directory.
**2. Configure** (`~/.picoclaw/config.json`)
```json
{
"agents": {
"defaults": {
"model_name": "gpt-5.4"
}
},
"model_list": [
{
"model_name": "gpt-5.4",
"model": "openai/gpt-5.4"
// api_key is now loaded from .security.yml
}
]
}
```
> See `config/config.example.json` in the repo for a complete configuration template with all available options.
>
> Please note: config.example.json format is version 0, with sensitive codes in it, and will be auto migrated to version 1+, then, the config.json will only store insensitive data, the sensitive codes will be stored in .security.yml, if you need manually modify the codes, please see `docs/security_configuration.md` for more details.
**3. Chat**
```bash
# One-shot question
picoclaw agent -m "What is 2+2?"
# Interactive mode
picoclaw agent
# Start gateway for chat app integration
picoclaw gateway
```
For minimal environments where only the `picoclaw` core binary is available (no Launcher UI), you can configure everything via the command line and a JSON config file.
**1. Initialize**
```bash
picoclaw onboard
```
This creates `~/.picoclaw/config.json` and the workspace directory.
**2. Configure** (`~/.picoclaw/config.json`)
```json
{
"agents": {
"defaults": {
"model_name": "gpt-5.4"
}
},
"model_list": [
{
"model_name": "gpt-5.4",
"model": "openai/gpt-5.4"
// api_key is now loaded from .security.yml
}
]
}
```
> See `config/config.example.json` in the repo for a complete configuration template with all available options.
>
> Please note: config.example.json format is version 0, with sensitive codes in it, and will be auto migrated to version 1+, then, the config.json will only store insensitive data, the sensitive codes will be stored in .security.yml, if you need manually modify the codes, please see `docs/security_configuration.md` for more details.
**3. Chat**
```bash
# One-shot question
picoclaw agent -m "What is 2+2?"
# Interactive mode
picoclaw agent
# Start gateway for chat app integration
picoclaw gateway
```